
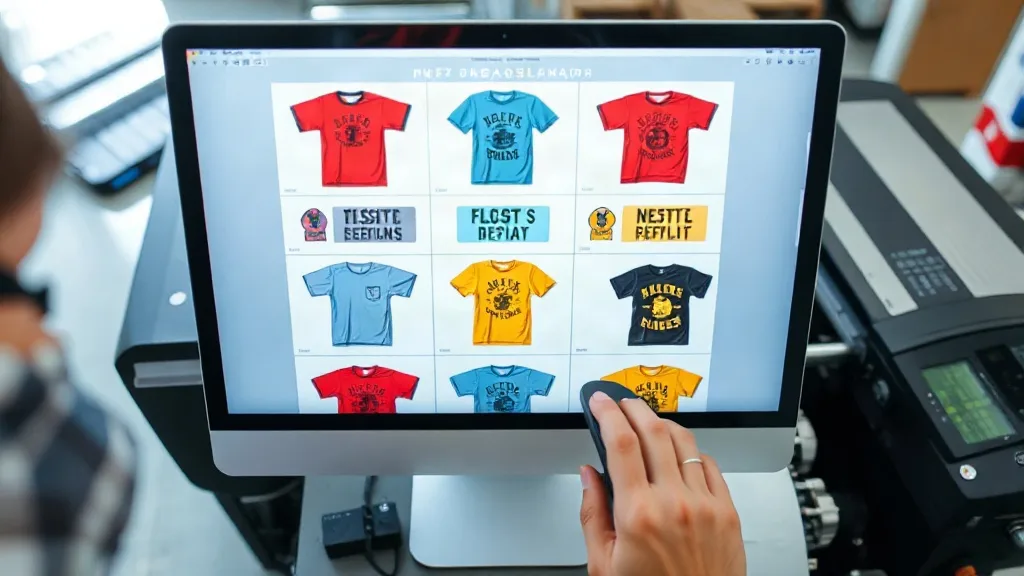
If you run a DTF printing business, you know that film and ink are your biggest recurring costs. Every square inch of wasted film eats into your margin. But here's the thing: many shops focus on getting the cheapest film or ink, yet overlook the real money saver—smart utilization of the DTF Gangsheet. By optimizing how you arrange transfers on each sheet, you can significantly reduce waste, cut costs, and increase throughput without sacrificing quality. In this article, we'll dive into practical strategies to get the most out of every gangsheet, from nesting techniques to order grouping and beyond.
Why Film Utilization Matters More Than You Think
Let's put it in perspective. Suppose you pay $0.50 per square foot for DTF film. If you waste 20% of each sheet, that's an extra $0.10 per square foot going straight to the trash. Over a month of production, that adds up to hundreds or even thousands of dollars. And that's just film—add ink, powder, and labor, and the waste multiplies. On the flip side, improving utilization from 70% to 90% can cut your material costs by nearly a third. That's pure profit.
But utilization isn't just about squeezing more designs onto a sheet. It's about doing it in a way that doesn't compromise print quality or create rework. A poorly nested sheet might save film but lead to cutting errors, color inconsistencies, or transfer failures. The goal is to maximize usable area while maintaining flawless output.
Understanding Your Gangsheet Dimensions and Printer Capabilities
Before you start nesting, you need to know your limits. What's the maximum printable width of your DTF printer? Most roll-fed systems offer widths from 13 inches to 24 inches or more. The length is limited by your RIP software or your roll length, but typically you can go up to several feet. Knowing these boundaries is step one.Next, factor in the non-printable margins. Most printers require a small border (e.g., 0.25 inches) around the edges for the film to feed properly. Also, consider the space needed for registration marks or cut lines if you're using a cutter. Your RIP software should handle these automatically, but you need to set up your file with the correct parameters.
Choosing the Right Film Width
Film comes in various widths: 13", 17", 24", etc. Using a wider film than necessary for a small job wastes material. For example, if you're printing a batch of small left-chest logos, a 13" roll might be perfect, whereas a 24" roll would leave large empty areas. On the other hand, for large back prints, a wider roll reduces the number of sheets needed. Always match the film width to the job size.
Nesting Strategies That Save Film Without Sacrificing Quality
Nesting is the art of arranging designs on the sheet to minimize empty space. But not all nesting is created equal. Here are proven techniques to boost utilization:
- Rotate and flip designs: Some designs can be rotated 90 or 180 degrees to fill gaps better. Just ensure text or directional elements remain readable.
- Group similar sizes: Cluster designs of similar dimensions together; they tend to tessellate more efficiently.
- Use the negative space: Place small items like sleeve logos or neck tags into the gaps between larger prints.
- Optimize spacing: Leave just enough gap for cutting (typically 0.125" to 0.25") but avoid excessive spacing that wastes film.
- Consider the grain: DTF film has a grain direction; rotating designs might affect adhesion or stretch. Test before committing.
Modern RIP software includes auto-nesting features, but manual tweaking often yields better results. Take a few minutes to review the layout before sending it to print.
Real-World Example: Small Batch of T-Shirts
Imagine you need to print 20 front logos (8"x10") and 20 back logos (12"x16") for a local team. If you print each logo individually on a 13" wide roll, you'd waste a lot of film. Instead, create a gangsheet that combines both sizes. With a 24" wide roll, you can fit two back logos side by side (24" width), and use the remaining space for front logos in between. By rotating and nesting, you might achieve 85% utilization versus 60% with a naive layout. That's a significant saving on a single order.
Order Grouping: The Hidden Lever for Better Utilization
You can only nest so much within a single order. But if you group orders strategically, you can fill sheets more completely. For instance, if you have several small orders for the same film type and similar color profiles, combine them into one gangsheet. This reduces the number of partial sheets and increases overall utilization.
However, grouping requires organization. Use a job tracking system to identify orders that can be combined without delaying deadlines. Communicate with customers if needed; most are fine with a slight extension if it means cost savings. At the end of the day, better utilization means lower prices or higher margins—a win-win.
Balancing Speed and Utilization
There's a trade-off between spending time perfecting a nest and getting jobs out the door. For large orders, investing 10 minutes in nesting can save hours of film. For tiny orders, it might not be worth it. Develop a sense of when to optimize and when to just print. A good rule of thumb: if the sheet utilization is below 70%, it's worth a second look.
Tools and Software to Maximize Utilization
Your RIP software is your best friend here. Programs like Cadlink, Wasatch, or Onyx have nesting features that can automatically arrange designs. But don't rely solely on auto-nesting; it often leaves gaps. Use manual tools to drag and rotate. Some advanced tools use AI to optimize nesting, but they come at a cost. For most small shops, a combination of auto-nesting and manual adjustment works well.
Also, consider using a cut optimizer if you have a cutter. Integrated workflows can align print and cut paths to minimize waste. And don't forget to calibrate your printer regularly; a well-maintained printer produces consistent output, reducing the need for reprints that waste film.
Common Mistakes That Waste Film (and How to Avoid Them)
Even experienced operators fall into these traps:
- Ignoring the roll width: Using a wider roll than needed for small jobs.
- Over-spacing: Leaving too much gap between designs, thinking it helps cutting, but actually wasting film.
- Not rotating: Failing to rotate designs to fit better.
- Printing one-off sheets: Printing a single design on a full sheet when you could wait and combine with others.
- Poor color management: Incorrect color profiles lead to reprints, wasting entire sheets.
Avoid these by setting standard operating procedures and training your team.
Measuring and Improving Utilization Over Time
You can't improve what you don't measure. Start tracking your film utilization per job. Most RIP software reports the total area printed and the film used. Calculate utilization as (printed area / film area) x 100. Aim for at least 80% on average. Review jobs with low utilization to see what went wrong. Over time, you'll spot patterns and adjust your nesting strategies.
Also, consider the cost of rework. A sheet with 95% utilization but frequent cutting errors might be more expensive than a 85% sheet with flawless output. Balance is key.
Frequently Asked Questions
What is a good film utilization percentage for DTF gangsheets?
Aim for 80% or higher. Below 70% indicates significant waste; review your nesting and order grouping.
Can I reuse wasted film from a gangsheet?
No, once printed, the film cannot be reused. However, you can cut around printed areas for other uses if the film is still intact, but it's not recommended for professional transfers.
How does film width affect utilization?
Using a film width that closely matches your design sizes reduces empty margins. For example, a 13" roll is ideal for small logos, while a 24" roll suits large back prints.
Should I invest in nesting software?
If you produce high volumes, yes. For small shops, manual nesting with your RIP software is sufficient. Start with manual and upgrade if needed.
What's the biggest mistake that kills film utilization?
Printing single designs on full sheets without grouping orders. Always combine jobs when possible.