
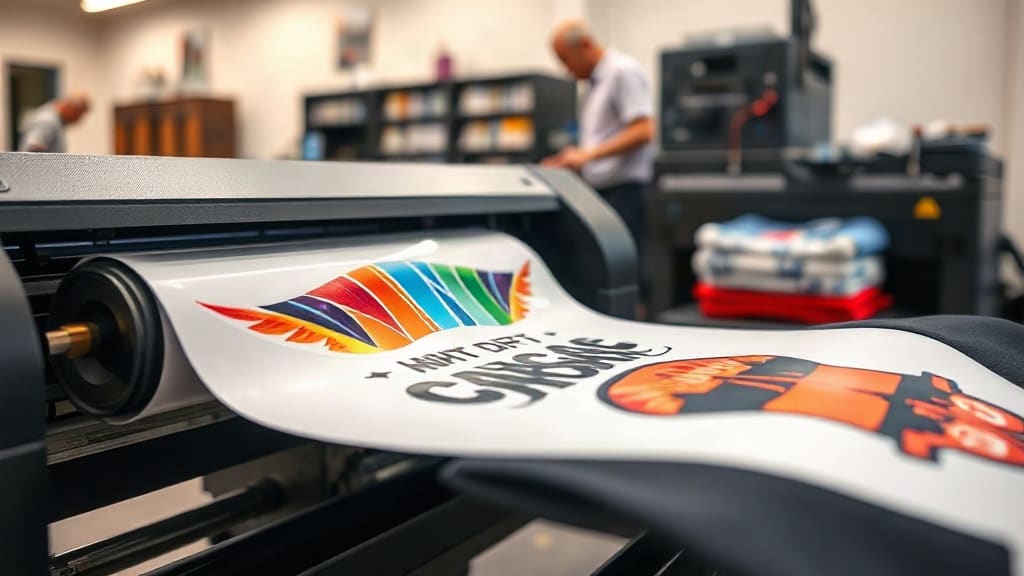
DTF (Direct to Film) printing has taken the custom apparel world by storm, and for good reason. Unlike traditional methods that require screens or expensive equipment, this process lets you print vibrant designs onto a special film, then transfer them onto fabrics using a heat press. Whether you're a hobbyist looking to make custom shirts for friends or an entrepreneur exploring a new business, understanding the ins and outs of DTF printing is crucial. In this guide, I'll walk you through everything you need to know, from the basic technology to practical tips I've learned from countless hours in the workshop. By the end, you'll have a clear roadmap to start your own projects with confidence.
What is DTF Printing?
Direct to Film, or DTF, is a printing method where a design is printed onto a special PET film using a printer equipped with white ink. After printing, a powdered adhesive is applied to the wet ink, and the film is dried. To transfer the design, you place the film on a garment and apply heat and pressure with a heat press. The adhesive melts, bonding the ink to the fabric, and when you peel off the film, a soft, durable print remains.
How DTF Works: Step-by-Step Overview
The DTF process is straightforward, but each step requires attention to detail. Here's how it goes:
- Design creation: Create your artwork in a software like Photoshop or Illustrator. Make sure to include a white layer for the parts that need to be opaque on dark fabrics.
- Printing: Load the PET film into your DTF printer. The printer lays down CMYK colors and a white underbase, plus an optional varnish layer to protect the ink.
- Adhesive application: While the ink is still wet or slightly damp (depending on the adhesive type), you apply a hot-melt adhesive powder. Shake off the excess and ensure even coverage.
- Drying: Cure the film in a dryer or using a heat press set to a specific temperature to melt the adhesive and dry the ink.
- Transfer: Preheat your garment, place the film (ink side down) on the fabric, and press with your heat press. The recommended temperature is usually around 160-170°C (320-338°F), with medium to firm pressure, for 15-25 seconds.
- Peeling: After pressing, peel the film while it's hot or cold, depending on the film's specifications. Hot peel is common for many films, but some require cold peel for a matte finish.
Essential Equipment and Materials for DTF
Before you dive in, you need the right gear. Here's a checklist:
- DTF printer: An Epson or Ricoh printer converted for DTF, or a dedicated industrial model. It must handle white ink and have a roll-to-roll system.
- PET film: Specifically designed for DTF, available in rolls or sheets.
- Powder adhesive: Hot-melt adhesive powder, usually a TPU-based product.
- Heat press: A clamshell or swing-away press that can reach at least 180°C (356°F).
- Inks: DTF pigment inks, including white, CMYK, and optionally a varnish/coating.
- Applicator: A powder shaker or a dedicated powder coating machine to apply adhesive evenly.
- Drying unit: A conveyor dryer or an industrial oven to cure the adhesive. A heat press can work for small runs if you're careful.
Choosing the Right Fabrics for DTF
One of the biggest advantages of DTF is its compatibility with many fabrics. It works exceptionally well on:
- Cotton and cotton blends
- Polyester and performance wear
- Nylon, though care is needed with temperature
- Blends with up to 50% spandex or elastane
- Canvas, denim, and even some leather (test first)
However, for very stretchy fabrics or those with a high spandex content, you may need to use a stretch film and adjust your press settings. Always test on a sample to ensure the print doesn't crack or peel.
DTF vs. Other Printing Methods: A Quick Comparison
DTF vs. DTG (Direct to Garment)
DTG prints directly onto the garment, which is great for detailed, full-color designs but requires pretreating and is slower. DTF transfers are faster for bulk orders and can be used on a wider variety of materials, including polyester, without special pretreatments.
DTF vs. Screen Printing
Screen printing is economical for large runs, but setup is costly. DTF has no screen setup, making it perfect for small batches, multi-color designs, and one-off prints.
DTF vs. Vinyl (Heat Transfer)
Vinyl is limited to solid colors and simple shapes. DTF allows intricate designs with gradients and a soft hand feel, unlike the sometimes stiff plastic feel of vinyl.
Pros and Cons of DTF Printing
Like any method, DTF has its strengths and weaknesses.
Advantages
- Versatility: Works on many fabrics, including dark materials.
- No screen or stencil setup, so you can print single items economically.
- Produces soft, stretchable prints that don't crack easily.
- Excellent color vibrancy and detail.
- Easy to store films for future reprints.
Disadvantages
- Initial investment in equipment and supplies can be moderate.
- Requires a learning curve for perfect prints, especially with powder and pressing.
- White ink can be tricky to maintain; it often needs shaking and recirculation to prevent settling.
- Waste from film and excess powder needs management.
Tips for Getting the Best DTF Results
From my own trial and error, here are practical tips that will save you headaches:
- Calibrate your printer: Ensure colors are accurate by creating a color profile for your printer and film combination.
- Shake white ink regularly: White particles settle, causing faded prints. Use a shaker or manually agitate the cartridges daily.
- Control humidity: High humidity can make the adhesive powder clump. Store powder in a dry place and use a dehumidifier if needed.
- Master the peel: Test hot and cold peel with your specific film. Some films require a hot peel for a glossy finish and cold for matte.
- Use light pressure: Too much pressure can cause ghosting or bleeding. Start with light-to-medium pressure and adjust.
- Preheat your garment: This removes moisture and wrinkles, ensuring better adhesion.
- Test everything: Always do a test print and transfer before running a batch, especially when changing film or fabric.
DTF Workflow: From Image to Finished Product
Let me walk you through a typical DTF production process in detail, as if you were in my studio:
- Design and RIP: You prepare your artwork in a RIP software like ColorPrint or Flexi. This software controls the white base and layering. I usually set white ink at 100% under the colored areas, but for fine details, I might reduce it to avoid excessive ink build-up.
- Printing: Load the film roll, ensuring it's aligned. Print a test strip to check nozzle health and color. Then print your design. The white ink is laid down first (underbase), then CMYK, and sometimes a clear layer on top.
- Powdering: While the print is still wet, you apply the adhesive powder. I use a powder shaker for small jobs and a coating machine for bulk. Shake generously, then tilt to remove excess. The powder sticks only to the wet ink.
- Drying: This step melts the powder, turning it into a glue. I use a conveyor dryer set to 100-120°C (212-248°F) for about 3 minutes. If you're using a heat press, set it to 160°C (320°F) and press for 30 seconds with light pressure, but be careful not to scorch the film.
- Weeding and Cutting: Once dried, the film is ready. You can cut out individual designs with scissors or a cutter. Some designs might need weeding if there are unwanted adhesive areas, but usually the powder only sticks to the printed area.
- Transfer: Preheat your garment for a few seconds. Place the film on the garment, ink side down. Press with a heat press at 160-170°C (320-338°F) for 15-20 seconds with medium pressure. The exact time depends on the fabric and film. I always test on a scrap first.
- Peel: After pressing, peel the film. Some films require immediate hot peel, others need to cool for a minute. Follow the film's instructions. If you see any lifting, you may need to increase pressure or time.
- Quality check: Inspect the print for adhesion, color, and any wrinkles. With practice, you'll develop an eye for it.
Common DTF Mistakes and How to Fix Them
Even experienced printers hit snags. Here are common issues and solutions:
- Poor adhesion or wash-out: This often happens if the adhesive powder wasn't enough or the press time was too short. Increase powder coverage, press time, or temperature (within safe limits).
- Faded colors: Check your white ink density and ensure you're printing on the correct side of the film. Also, make sure the film is dry before transferring.
- Cracking: This can occur if the print is too thick or the adhesive didn't cure properly. Try reducing ink layers or increasing drying time.
- Ghosting (double image): This happens when the film shifts during pressing. Secure the film with heat-resistant tape and use a consistent, quick press motion.
- Powder sticking to the film background: If your film has static, powder may cling to non-printed areas. Use an anti-static gun or increase humidity slightly.
DTF Printing on Different Materials
Cotton
Cotton is the easiest fabric for DTF. It absorbs the adhesive well, and prints come out vibrant. Use medium pressure and a standard pressing time.
Polyester
Polyester requires a lower temperature to prevent scorching. Press at around 150-160°C (302-320°F) and use a Teflon sheet to protect the fabric. DTF is ideal for polyester because it doesn't need the high heat of vinyl, which can cause dye migration.
Blends and Stretch Fabrics
For blends with spandex, use a stretchable film and a lower temperature. Test the fabric's stretch after pressing to ensure the print doesn't crack when stretched.
DTF Business Considerations
If you're thinking of starting a DTF business, there are a few things to keep in mind:
- Pricing: Calculate your costs per print, including film, ink, powder, and energy. Then add your profit margin. DTF is cost-effective for small orders, so you can price competitively.
- Quality control: Consistency is key. Document your settings for each material and design type.
- Marketing: Showcase your work on social media, especially the process videos which are popular. Offer samples to local businesses.
- Investment: A basic setup can start around $2,000 for a converted printer, but professional systems can cost $10,000 or more. Weigh your expected volume.
The Future of DTF Printing
As technology advances, DTF is becoming more accessible and efficient. New printers offer better white ink circulation, and eco-friendly films are emerging. The demand for customized apparel continues to grow, making DTF a valuable skill for any print shop.
DTF Printing FAQ
What is the difference between DTF and sublimation?
Sublimation uses special inks that turn into gas when heated, bonding with polyester fibers. It only works on light-colored polyester fabrics. DTF works on many fabrics, including cotton and blends, and uses a film transfer process. For dark shirts, DTF is the clear winner.
Can DTF prints withstand multiple washes?
Yes, high-quality DTF prints can last for many washes if applied correctly. The key is proper adhesive coverage and pressing. I've had prints last over 50 washes without fading or cracking when the process is done right.
Do I need a special printer for DTF?
Yes, you need a printer that can handle white ink and is equipped for DTF, either a converted Epson or a dedicated DTF printer. Regular inkjet printers won't work because they lack white ink capability and robust feeding systems.
How long does it take to learn DTF printing?
With practice, you can get decent results within a week. Mastery takes a few months as you learn troubleshooting and fine-tuning for different fabrics. The learning curve is moderate, but the online community is helpful.
Is DTF printing cost-effective for small orders?
Absolutely. Unlike screen printing, there's no setup cost, so you can print a single shirt economically. This makes DTF perfect for custom orders, sample runs, and on-demand production.
Final Thoughts on Starting with DTF
Starting with DTF can be overwhelming, but it's a rewarding skill that opens up a world of creative possibilities. My advice is to start small: get a reliable printer, practice on materials you have, and don't be afraid to experiment. Keep a notebook of your settings, and learn from each mistake. Before long, you'll be producing professional-quality garments that you can be proud of. So, why not give it a try? The only way to learn is to print!